The digital world continues to evolve, and more and more people are turning to the internet and social media in search of their dream holiday home. Therefore, property images have never been more important for the success of your rental property. A good photo will entice potential visitors, whereas a poorly lit, unattractive photo will have the public clicking the little red X faster than you can say ‘holiday’. Don’t panic, we have put together some expert advice on how to take better property photos – without having to call in the professionals.
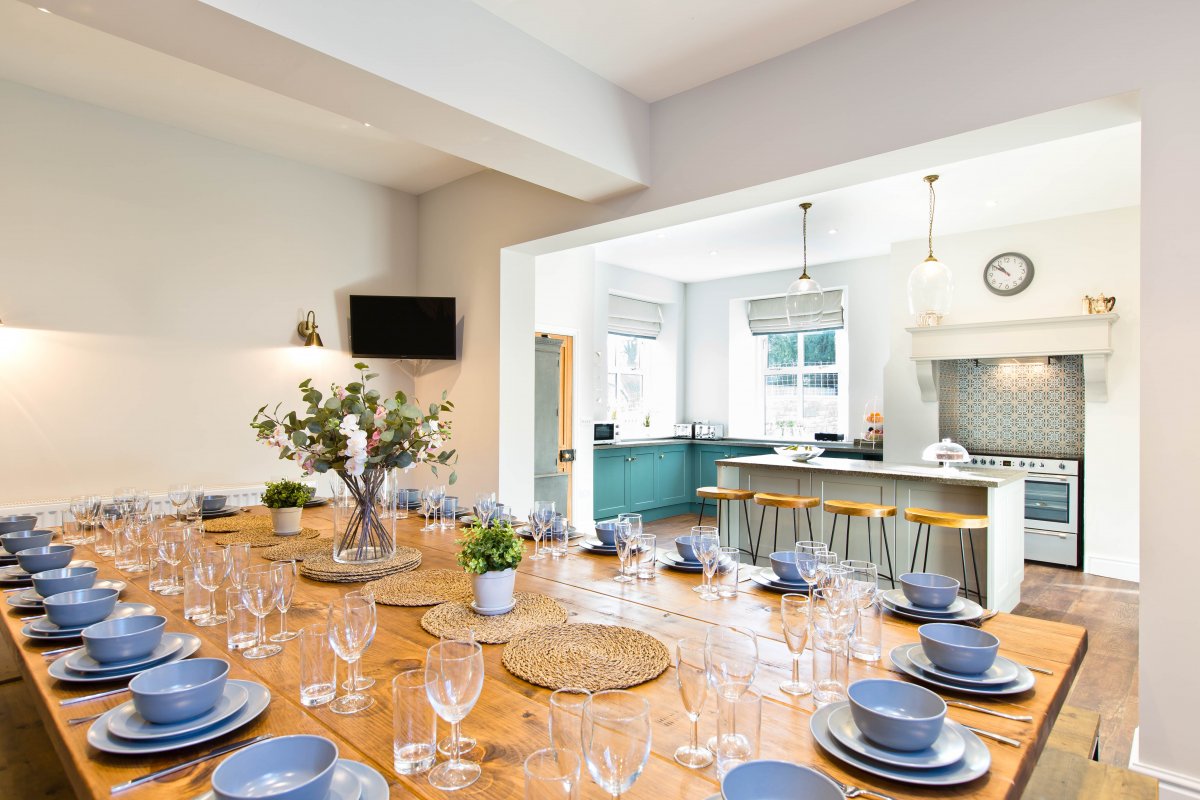
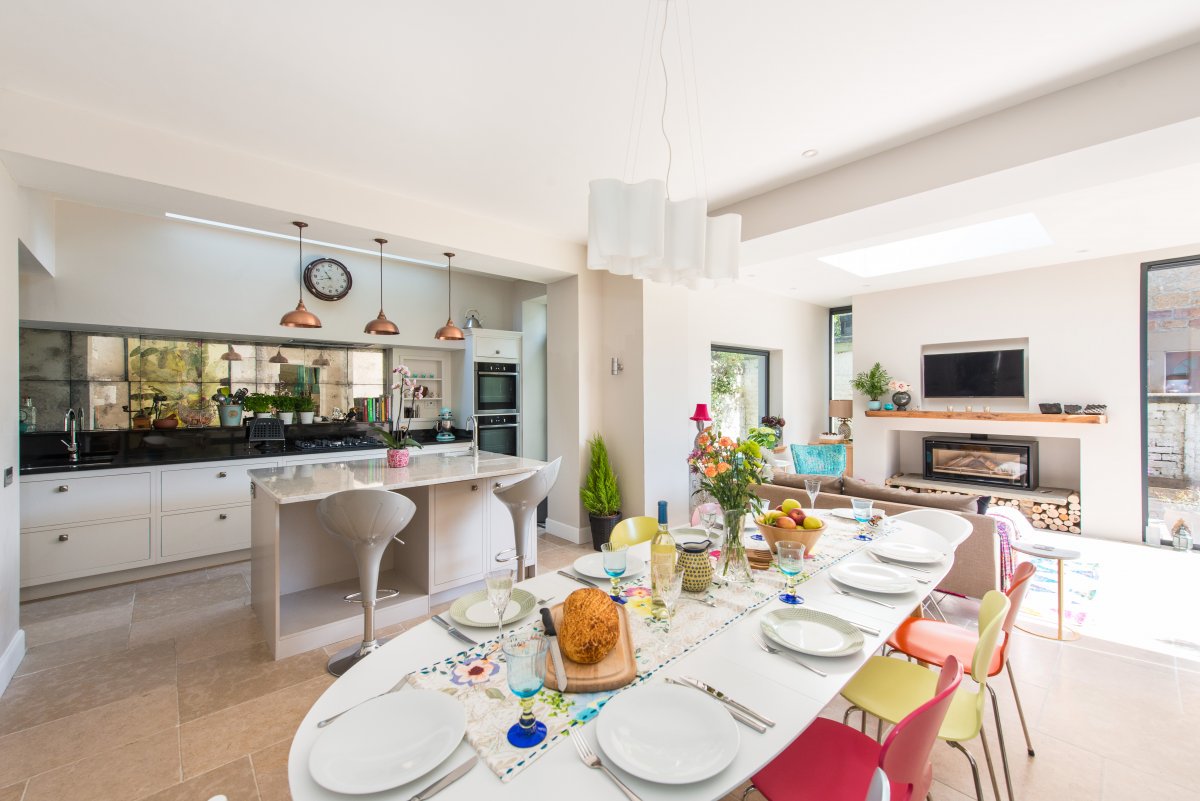
Photo credit: Priestcliffe House, Buxton
Let there be light
It might sound obvious, but good lighting will make a huge difference to the success of your images. Simple lighting equipment, such as a camera flash, will do wonders and it doesn’t have to break the bank. Be weary of any mirrors or metallic surfaces nearby, as these will reflect the flash. Alternatively, switching on every light in the room will also make your property seem bigger and more spacious.
Practice makes perfect
It’s important to remember that not every photo is going to look good. Also, your first few pictures probably won’t make the cut, so take your time and don’t rush this process. It’s a good idea to take some test shots before diving straight in, and then loading them onto your computer to have a better look. Images can often look completely different once uploaded, and on a big screen.
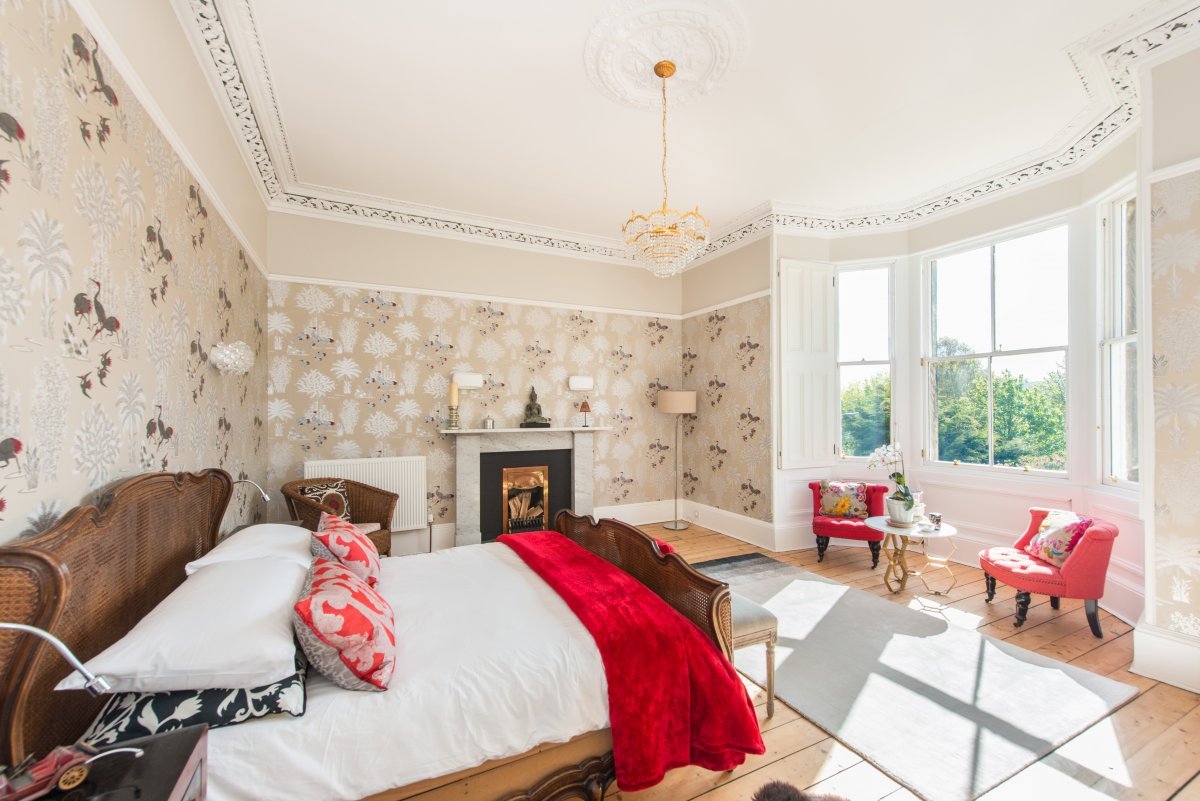
Photo credit: Pentillie Castle, Cornwall
Fail to prepare, prepare to fail
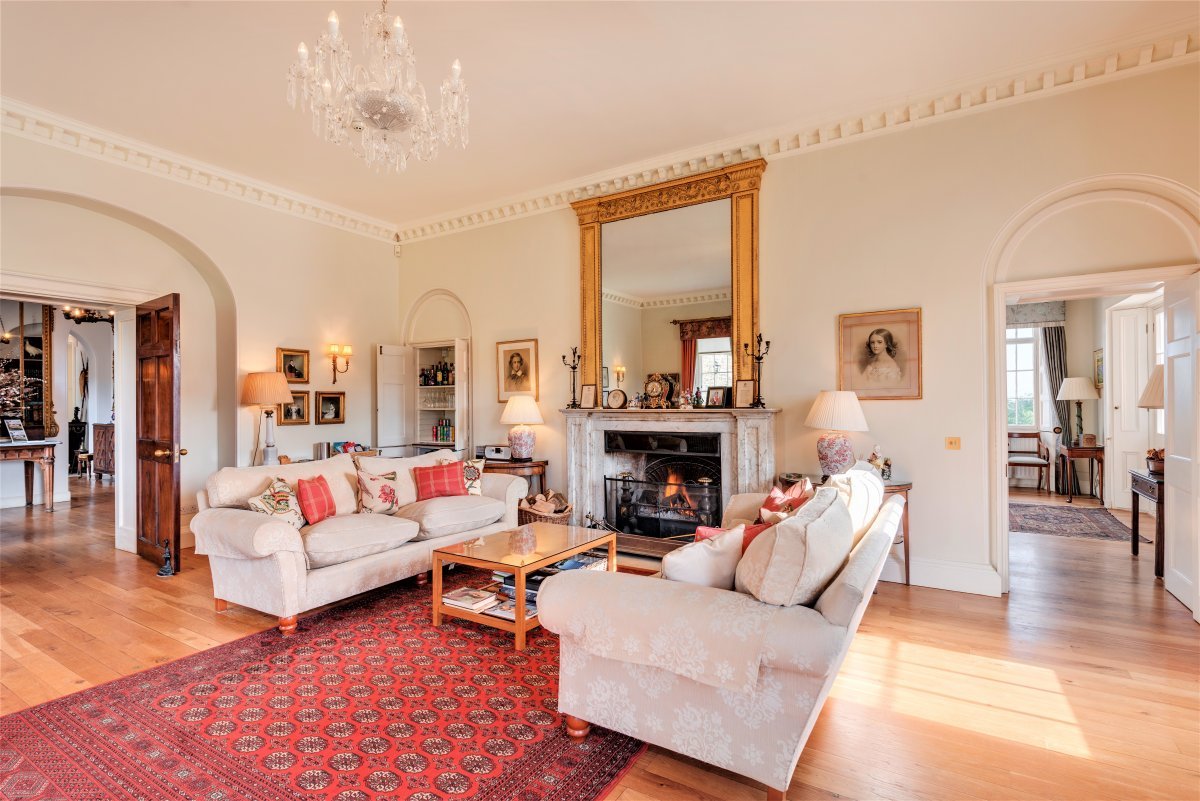
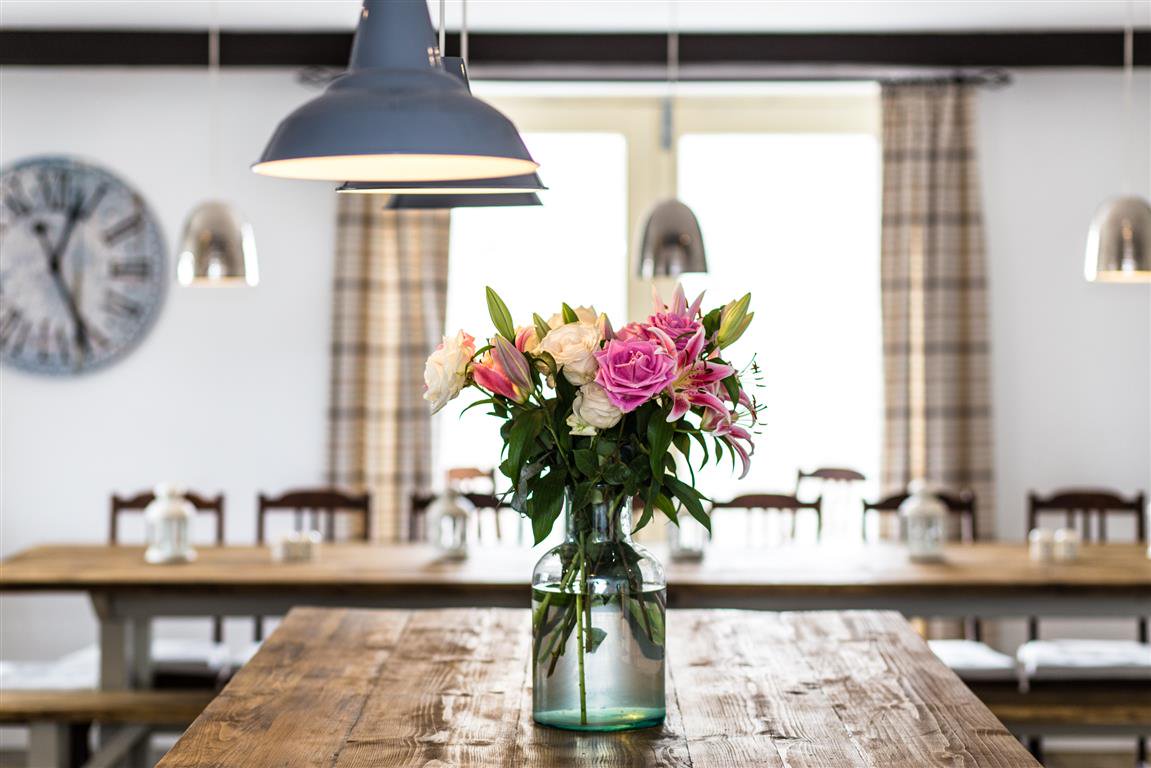
The term ‘home staging’ or ‘room staging’ is simply the act of making your home look its best. This doesn’t just mean a quick tidy up, or making sure there are no dirty dishes in the kitchen sink. Set the dining table, reposition furniture to make the best use of space, add a vase of flowers, straighten your bed sheets and remove all traces of pets. No one will want to see pictures of a messy bedroom, or untidy living space. Lifestyle details make a room look cosy and enticing, especially if captured in soft lighting. When people look at potential rentals, they want to be able to imagine themselves on the sofa, in the kitchen, at the dining table with their family, so make sure every room is perfectly arranged.
Photo credit: Priestcliffe House, Buxton
Position yourself correctly
Standing in different corners of each room, getting different perspectives on the space, will ensure that you show your property from every angle. Avoid taking pictures at a flat angle or directly facing walls, as this can make the space seem smaller than it is. It’s important to be mindful of where you position yourself when taking pictures of your property, as mistakenly capturing yourself in any mirrors will look very unprofessional.
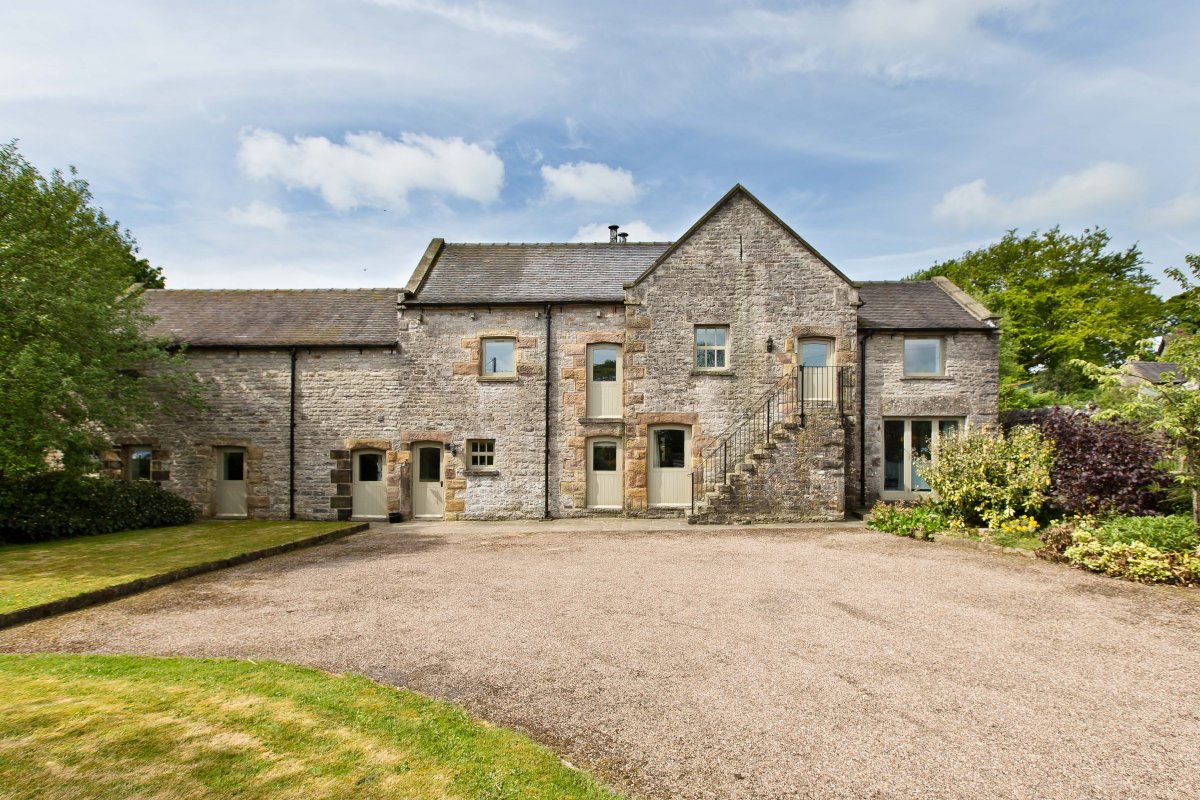
Photo credit: Redhurst Barn, Peak District
The early bird gets the worm
Your property’s exterior is just as important as the inside. Getting up early and capturing it in the soft morning light will guarantee a beautiful image, there will also be fewer people around. Similar to the inside, you should also spend some time staging the exterior of your property. Make sure the gardens are well kept, sweep away any leaves, remove hoses and don’t try to get creative with angles – simply shoot your property how it is. Our top tip is to ensure that you have your back to the sun.
Get photo savvy
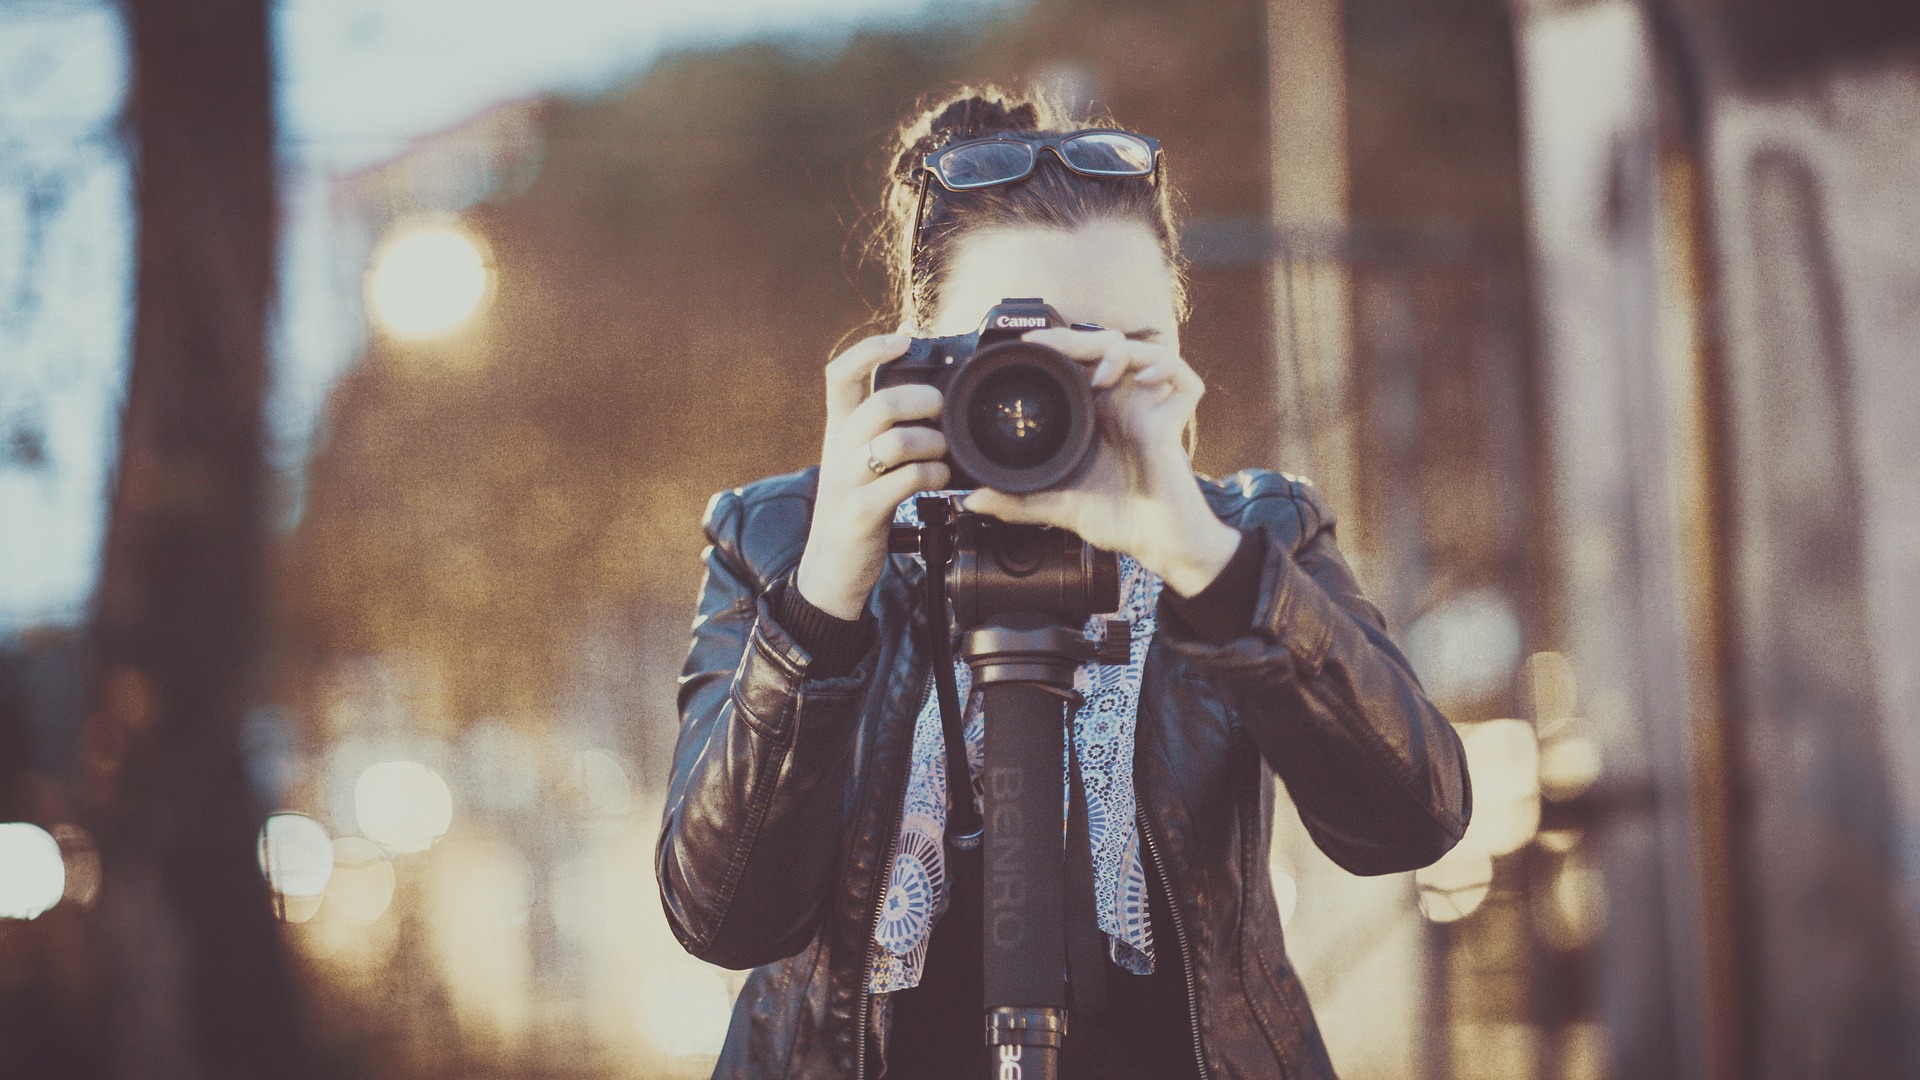
There are lots of photography courses around that don’t cost a huge amount of money. If you’re serious about renting your property, then upping your photography skill set might be a good place to start. Alternatively, there are various tutorials and guidance videos online that will assist you in editing, processing and improving your images.
Photo credit: 3 Eskbank Terrace, Scotland
Create a visual flow
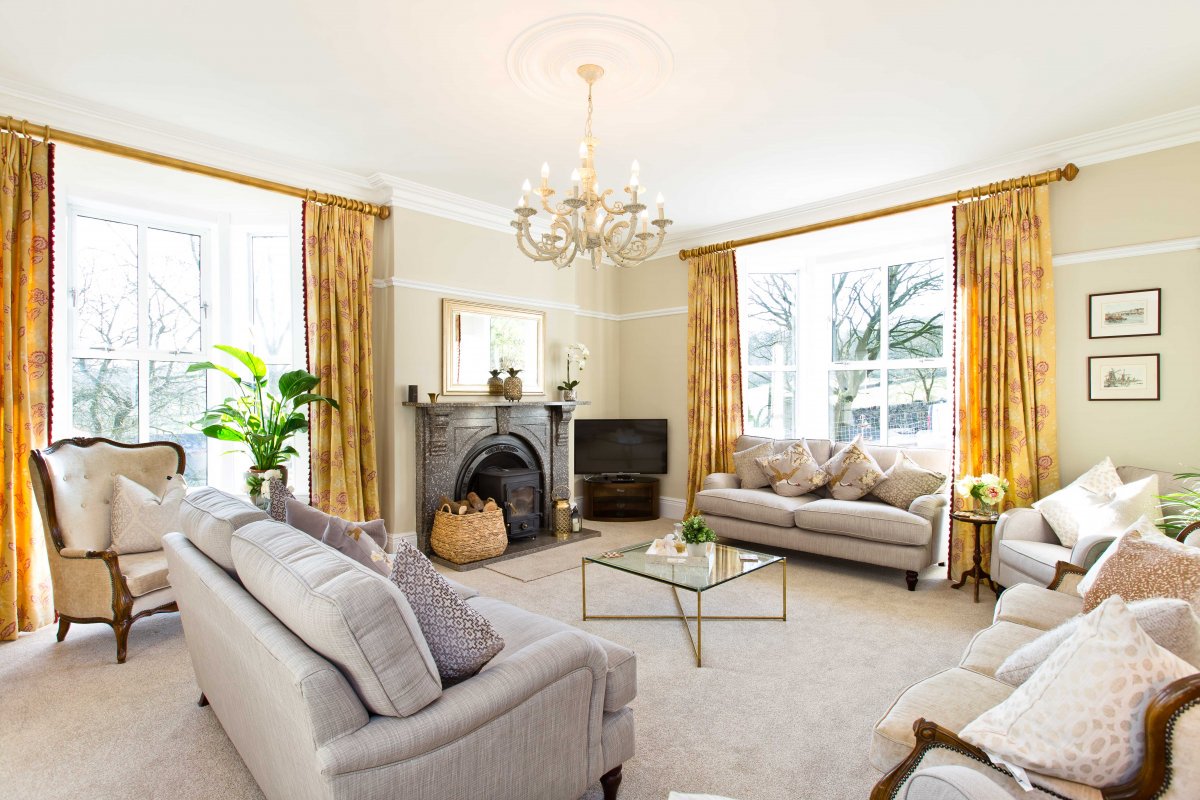
Your property photos allow people to digitally ‘walk’ around your home via the internet. Therefore, creating a certain visual flow to your images is crucial. Stand in the entrance of each room and take photos of what you can see, make sure there are no backs of chairs visible, or closed doors, as this can feel very unwelcoming. This may require some slight movement of furniture. Remember, you are ‘home staging’.
Photo credit: 3 Eskbank Terrace, Scotland
Size does matter
Understanding how to frame your property photos can be challenging, but as a general rule, large pieces of furniture should take up ⅔ of the photo. There should also be equal space above and below. This will vary from room to room, but use this as your starting point.
Maximise your equipment
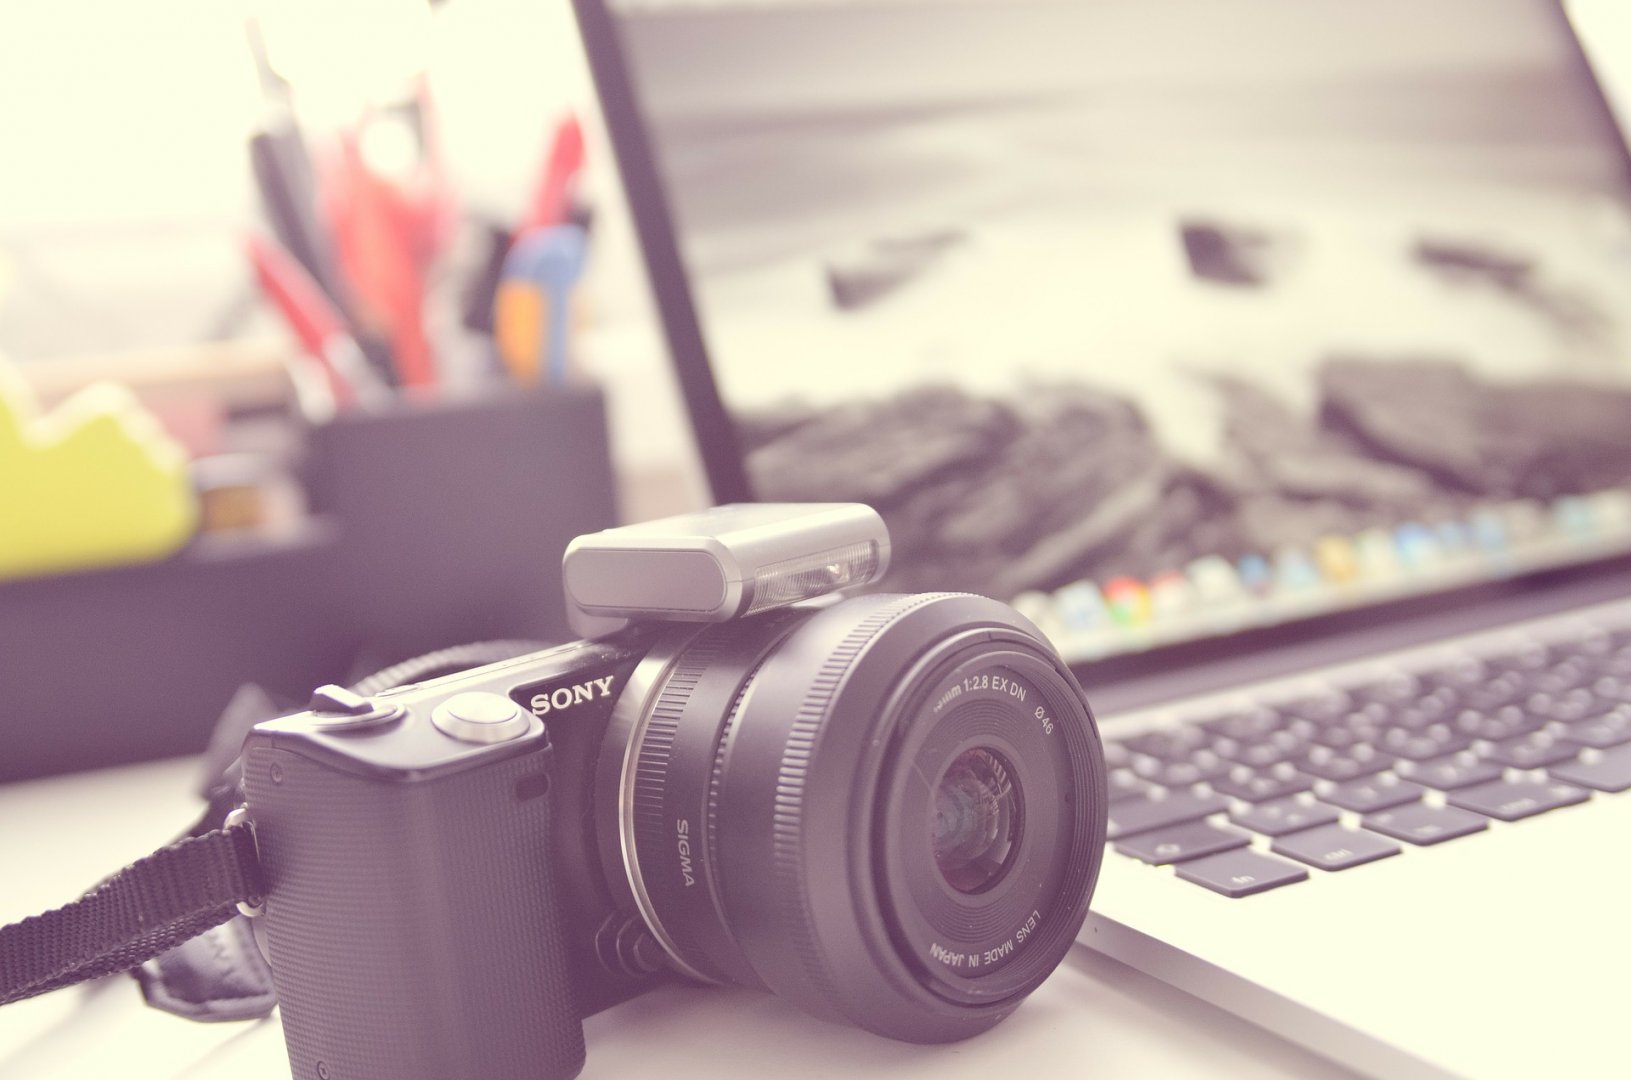
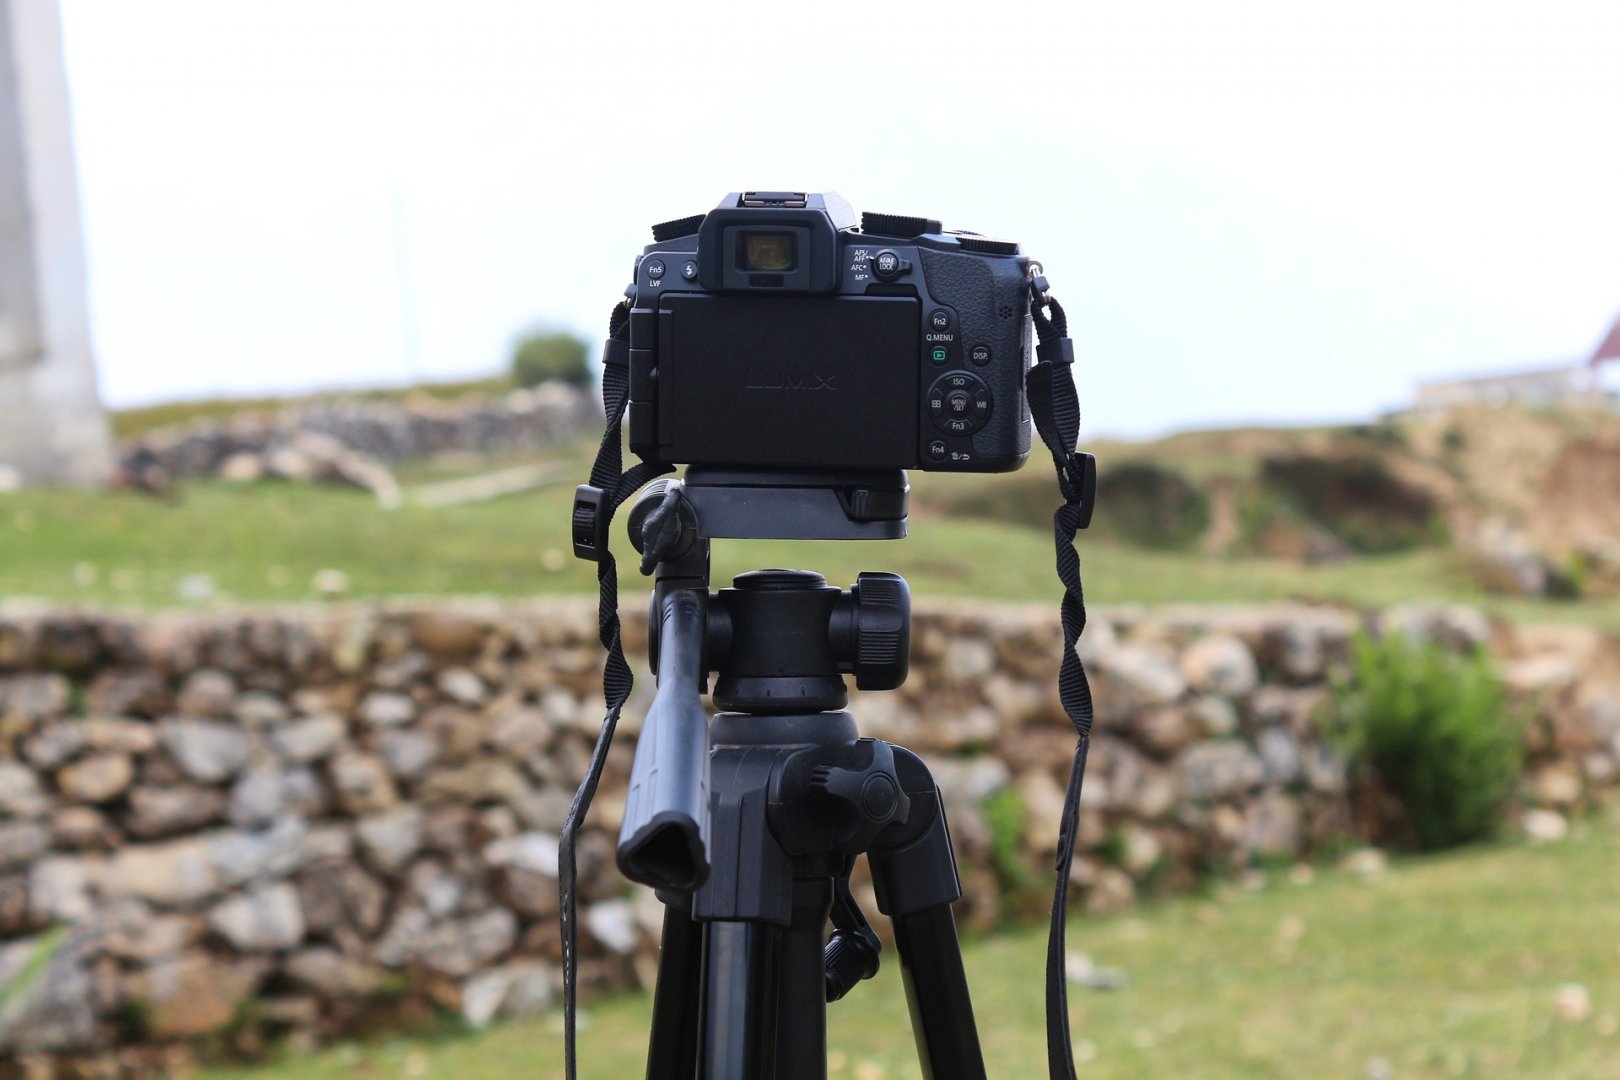
You don’t need to own fancy equipment to take professional looking property photos, but you do need to know how to use a decent camera. Inexpensive camera accessories can also be worth the investment. No matter how stable you think your hand is, a tripod and spirit level can help improve your picture quality.
Photo credit: Benty Grange, Bakewell
And, finally…
The finishing touches are the most important part of the process. Make sure you have tidied, taken out the rubbish, closed the loo seat, put away the hoover and hidden any trailing wires, as well as anything else that conveys a ‘lived-in’ look. Property photos are the best way to advertise your property, so in this case, appearance is everything! Remember that by making things look perfect will only lead to good reviews, and in the same breath, faking your property’s attributes will only lead the negative reviews. Take a look at our guide to decorating your property on a budget.
If you would like to speak to a member of our team about advertising your property with us, click here.
